

Views: 0 Author: Site Editor Publish Time: 2025-08-13 Origin: Site


You can install curtain brackets for bay windows without stress. Start by measuring your window space. Mark the spots where you want the brackets to go. Make sure each bracket feels sturdy and secure. Take your time with these steps. Good measuring and marking help your curtains hang right and look great. With a careful approach, you can handle this project and give your bay window a fresh, polished look.
Measure your bay window very carefully before you start. Good measurements make sure your brackets fit well and your curtains hang right.
Get all the tools and materials you need before you begin. Being ready helps the project go easier and saves time when you install.
Mark where the brackets will go clearly on the wall. Use a pencil so you can fix mistakes and make sure your curtains look even and nice.
Use the correct hardware for your curtain rods. Strong brackets and the right anchors keep your curtains safe and stop them from sagging.
Take your time to line things up and make changes. Small fixes while you work can make your curtains look neat and finished.
Before you start putting up curtain brackets, gather your tools and materials. This helps the project go well. Let’s look at what you need.
You need some simple tools to begin. Here is a checklist:
Safety glasses keep your eyes safe.
Ladder lets you reach high places.
Laser level helps your brackets stay even.
Measuring tape checks the right length.
Pencil is for marking where brackets go.
Battery-powered screw gun or drill/driver with a 4" to 6" screw holder extension tip makes the job easier.
Hammer is useful for putting in anchors.
1/8 drill bit is for making small holes.
Tip: Always check your measurements twice before drilling. This helps you avoid mistakes and saves time.
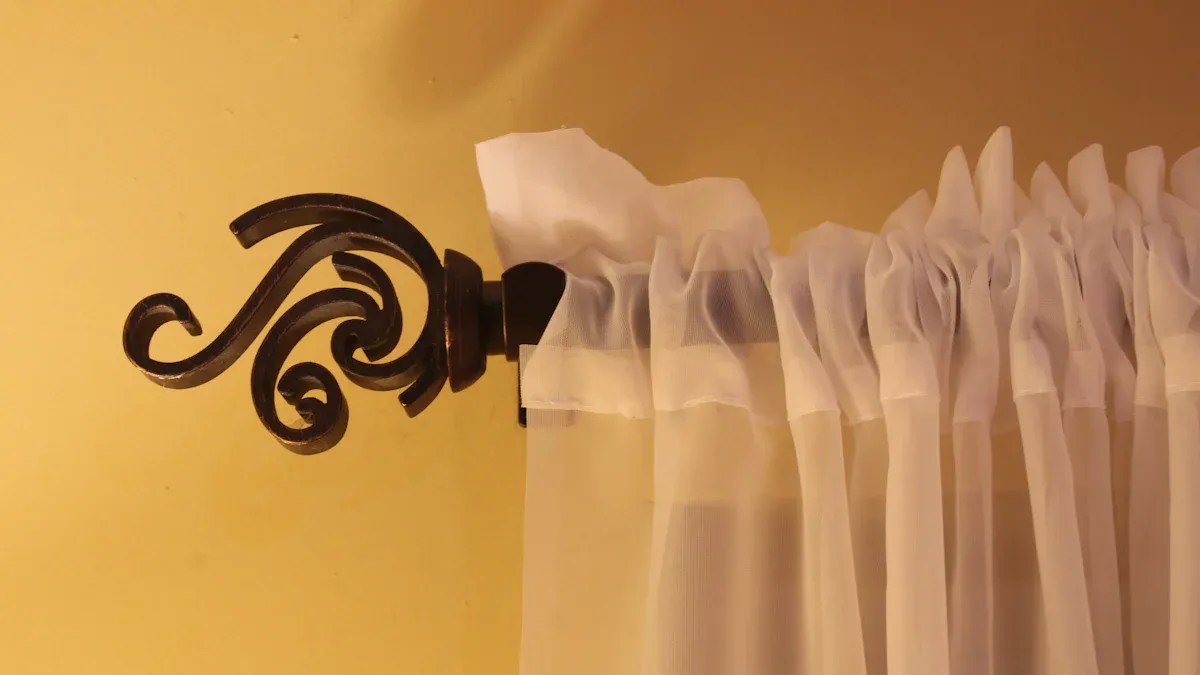
Picking the right hardware is important. At Kinghands Sunshade Tech Co.,Ltd, we suggest using strong brackets for bay window curtain rods. Metal brackets, like black wrought iron, are strong and look nice. If your curtains are heavy, use brackets like those for Plantation Shutters or PVC Shutter Components. You also need:
Bay curtain pole kit or a flexible/segmented pole system
Brackets (usually 4–6, depending on window width)
Elbow connectors for angled bays
Screws and anchors to hold things tight
Screwdriver for tightening screws
Tape measure for checking sizes
Drill for making holes
Spirit level for keeping things straight
Pencil for marking spots
Accessories make your curtain rod work and look better. You can use a track-based sliding system for easy curtain movement. Wall-mounted Roman rods give a matching look. Curved tracks on the ceiling add a modern style. Angled curtain poles help curtains move around corners. For a custom fit, metal tracks that bend to your window shape are good. Flexible joint systems let you use C rings and brackets made of plastic or metal.
Note: Accessories help your curtain rod stay strong and look nice on your bay window.
Getting the right measurements is the first step to a smooth install. You want your curtain brackets for bay windows to fit perfectly. Start by deciding where you want to mount your bay window curtain rod. You can choose the ceiling, above the window molding, or right on the molding. Use a measuring tape to check the distance from angle to angle across the back window. Then, measure each side from the edge of the wall to the angle. If you already have blinds, measure how far they stick out. This helps you pick mounting brackets that are deep enough. Check the height above the molding to make sure your curtain brackets will fit. Think about the type of curtains you want and how they will attach to the curtain rods. This makes sure you have the right hardware for your project.
Tip: Assemble your curtain rods on the floor first. Add the finials so you can see the full length. This dry fit helps you plan where each bracket should go.
Once you have your measurements, marking the placement is next. Tape a piece of paper on the wall where you plan to put each bracket. This keeps your wall clean while you work. Hold the mounting brackets at the height you want, making sure your curtains will cover the top of the window. Mark the spot for the bottom screw hole with a pencil. Pre-drill a small hole at each mark. This makes it easier to drive in the screws. Level the bracket as you secure it to the wall. Use a level on the curtain rod to check that all brackets line up.
Instructions: Center brackets above each window and place brackets at the ends for extra support.
You want your curtain brackets to look even and symmetrical. Measure each section of your bay window carefully. Align the brackets with the angles of the bay for a balanced look. Using separate curtain rods for each window pane can help you get a neat finish. Always double-check your marks before you drill. A laser level or spirit level makes this step easier. If you follow these steps, your curtain brackets will look professional and your curtains will hang just right.
Pro tip: Take your time with alignment. Small adjustments now save you trouble later.
Ready to start? First, gather your curtain rods, mounting brackets, and curtain brackets for bay windows. You want to make sure everything fits together before you install anything. Here’s what you should do:
Pick brackets that match the diameter of your curtain rods. If you’re not sure, choose brackets that are a little bigger.
Measure about 4–6 inches above each window frame. Mark these spots with a pencil. This gives your curtains enough room to hang nicely.
Hold each bracket up to the wall. Mark where the screw holes line up. This step helps you keep everything straight.
If you have a bay window curtain rod with angles, measure and cut the rods to fit each section. Lay out the rods on the floor and attach finials so you can see the full length.
Double-check your marks and measurements. This helps you avoid mistakes later.
Tip: Dry fit your curtain rods before you drill. You’ll see how everything lines up and can make adjustments if needed.
Now you’re ready to install the mounting brackets and curtain brackets. Grab your drill and the right drill bits for your wall type. Here’s how you do it:
For drywall, use wall anchors if you can’t find a stud. This keeps your brackets secure.
Plaster walls need toggle bolts for a strong hold. A magnet on a string helps you find studs.
Masonry walls require masonry bits and special anchors. Research the best anchors for your wall.
Follow these instructions for drilling:
Use a drill bit that’s smaller than your screws. Drill into the marks you made earlier.
For ceiling brackets, use a 6mm masonry bit. Drill holes and insert plugs for extra strength.
Screw the brackets into the wall. Make sure the screw holes match up with your drill holes.
If you’re using heavy curtain rods or wrought iron rods, add wall anchors or longer screws. Center support brackets every 30 to 36 inches help keep everything stable.
Note: If your screws don’t tighten, you might have missed a stud or solid backing. Try again or use anchors for extra support.
You’re almost done! Time to hang your curtain rods and start hanging curtains. Here’s a simple guide:
Slide the curtain rods into the brackets. Make sure each rod fits snugly.
Thread curtain rings onto your curtains. This makes it easy to open and close them.
Use clips for extra support if your curtains are heavy.
Adjust the curtains so they hang evenly. Attach finials to the ends of the rods for a finished look.
Check that everything feels sturdy. Give the rods a gentle tug to test stability.
Here’s a quick table to show how to attach rods and curtains securely:
Feature | Description |
|---|---|
Installation Method | Tap into the top corners of the window frame with a hammer. |
Damage to Walls | No holes or damage to walls or woodwork. |
Speed and Stability | Fast, strong, and stable installation for perfect curtains every time. |
Pro tip: Always check your bay window curtain rod and mounting brackets before finishing. Small adjustments now save you trouble later.
You’ve followed the instructions and installed curtain brackets for bay windows. Your curtain rods are secure, and your curtains look great. Enjoy your new view!
You might wonder what kind of bay window you have. The shape of your window affects how you install curtain brackets for bay windows. Here’s a quick guide to common shapes:
Bay Window Shape | Description | Common Uses |
|---|---|---|
Traditional | Extends upward from the floor, often seen in vintage styles like Colonial or Victorian. | Bedrooms or living rooms. |
Canted | Larger than traditional, with extra windows in the panels. | Spacious layouts, Victorian or Edwardian homes. |
Oriel | Does not reach the floor, supported by corbels. | Townhouses, Tudor or Gothic Revival styles. |
Circle | Has bigger side panels, creating a curved look. | Queen Anne Victorian, Art Deco, modern homes. |
Box | Small side panels at a 90-degree angle, box-like. | Kitchens, especially behind sinks. |
Knowing your window shape helps you pick the right curtain rods and mounting brackets. You get a better fit and a cleaner look.
Bay windows often have tricky angles. You need to adjust your curtain rods and mounting brackets to match these corners. Try using elbow connectors or flexible joint systems. These let you bend the bay window curtain rod so it fits each section. Dry fit your curtain rods before you install anything. You can see if the angles line up and make changes if needed. If you have a circle or canted bay, curved curtain rods work best. For box bays, straight rods with corner connectors give you a neat finish.
Tip: Always check the instructions for your curtain brackets and hardware. This helps you avoid mistakes and keeps your installation strong.
Sometimes, hanging curtains on bay windows gets tricky. You might see gaps, uneven rods, or loose mounting brackets. Here’s what you can do:
If your curtain rods sag, add more mounting brackets for support.
For uneven curtains, use a spirit level to check alignment.
If you see gaps at the corners, try flexible curtain rods or add elbow connectors.
For heavy curtains, use sturdy curtain brackets and wall anchors.
Popular curtain styles for bay windows include:
Roman Shades: Custom fit for each pane, simple and stylish.
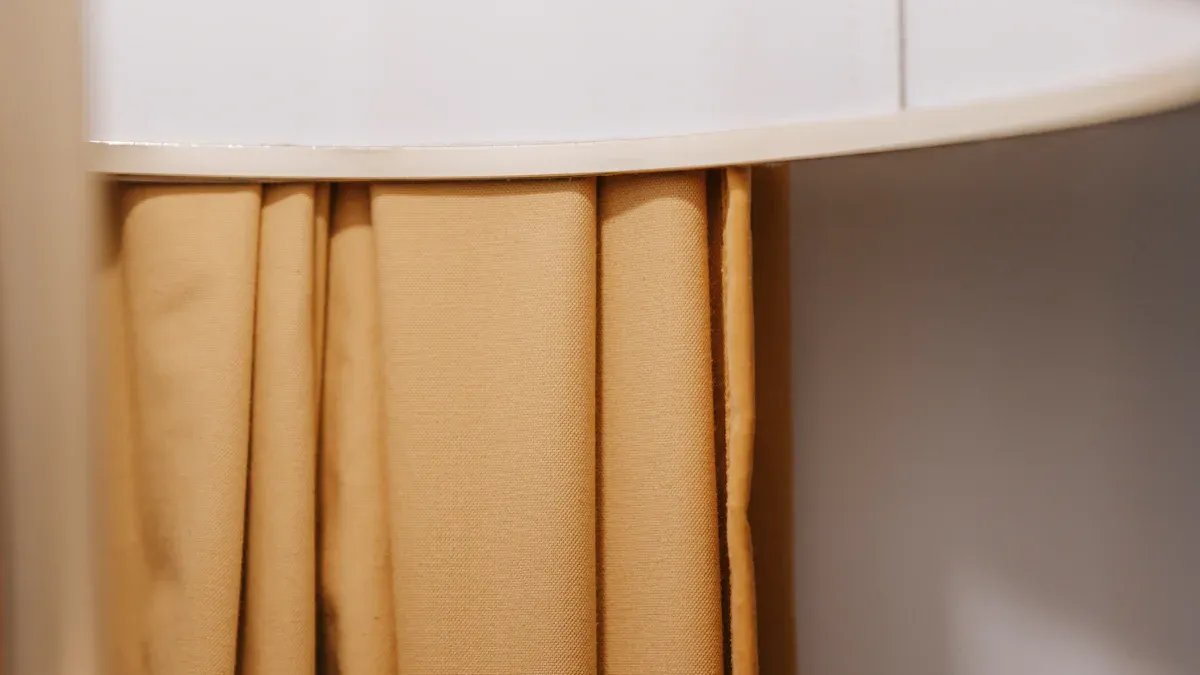
Sheer Curtains: Let in light, keep privacy, and layer well.
Combining Blinds and Curtains: Gives you control over light and looks polished.
You can solve most problems with a little patience and the right tools. Follow the instructions and check your work as you go. Your bay window will look great with secure curtain rods and well-placed curtain brackets.
You’ve got this! Just follow the instructions step by step. Measure your bay window, mark your spots, and install your curtain brackets with care. Double-check your hardware and alignment before you finish.
What keeps your drapery pole up securely are not the brackets themselves but the way the brackets are installed and secured to the wall.
Here’s what other homeowners say:
★★★★★ "There’s no-drill rod brackets are amazing!!! I am going to order five sets, need them for all five windows in my house. Can't wait!"
★★★★★ "It took me longer to get my curtain rods out of the pack than it did to hang these brackets, absolutely A-MAZ-ING!!! I'm a customer for life and I will tell the world."
Take your time and enjoy your new bay window look!
You usually need one bracket above each window section and extra brackets at the ends for support. For most bay windows, four to six brackets work best. This setup keeps your curtain rods stable and your curtains hanging straight.
Yes, you can use no-drill curtain rod brackets. These brackets grip the window frame and do not damage your walls. They work well for lightweight curtains. For heavy curtains, you should use traditional brackets with screws for better support.
Flexible or segmented curtain rods fit bay windows best. You can use rods with elbow connectors or curved tracks. These options let your curtains move smoothly around corners and fit the angles of your bay window.
Add a center support bracket every 30 to 36 inches. This extra bracket stops the rod from bending or sagging. Always check that your brackets are tight and secure before hanging your curtains.
You can use regular brackets if your bay window has straight sections. For angled or curved bays, choose brackets and rods made for bay windows. These special brackets help your curtains hang neatly and move easily.
